September 2014 we moved to a new house which presented an interesting option for a HT – I was never quite sure it would work out, but the move was on. Unfortunately, I had to destroy my old screen – it wouldn’t fit out of the basement! I also needed to do a little work on the space to get it… useful.
Not all the photos are linked in the writeup, so if you’re curious about anything in particular there may be a little more. This isn’t done yet, but it’s at a point where it’s not as intimidating (the chance of horrible failure is past, I hope.)
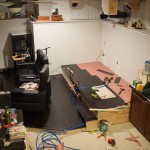
The space
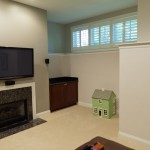
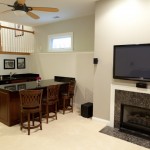
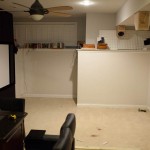
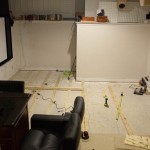
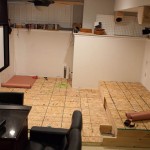
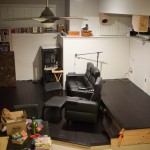
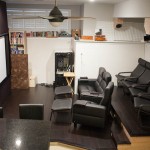
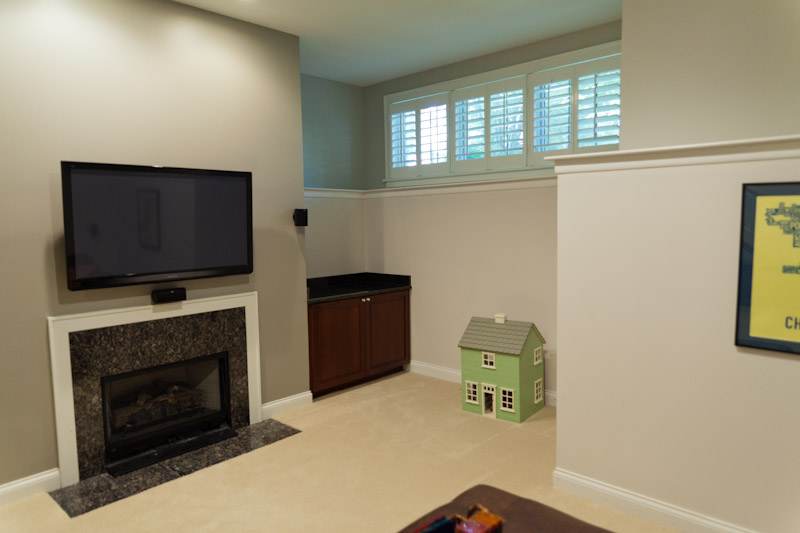
Here’s where things were when we stopped by with the inspector prior to purchase. Lots of ceiling room, slightly odd shape, and a snug fit for a truly epic setup – however, workable.
Tearing down
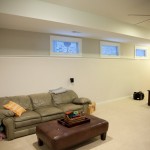
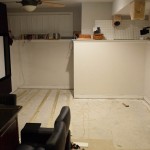
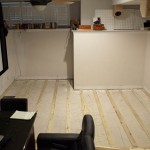
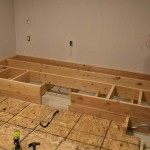
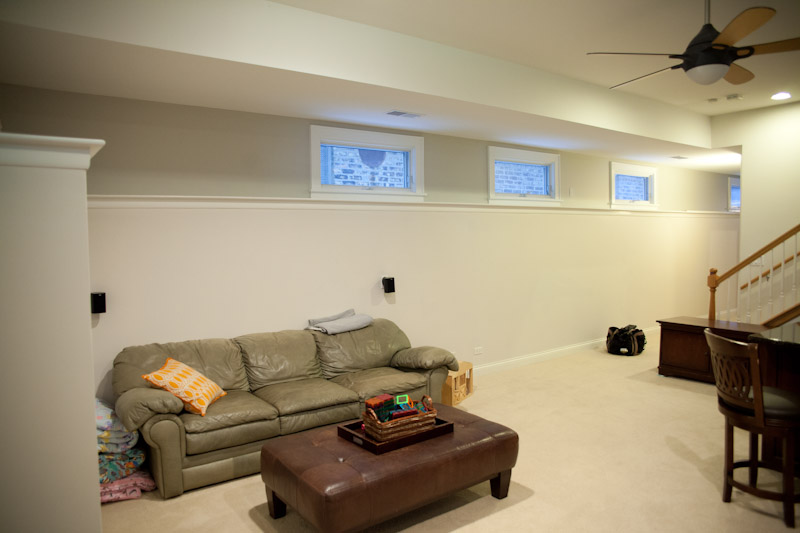
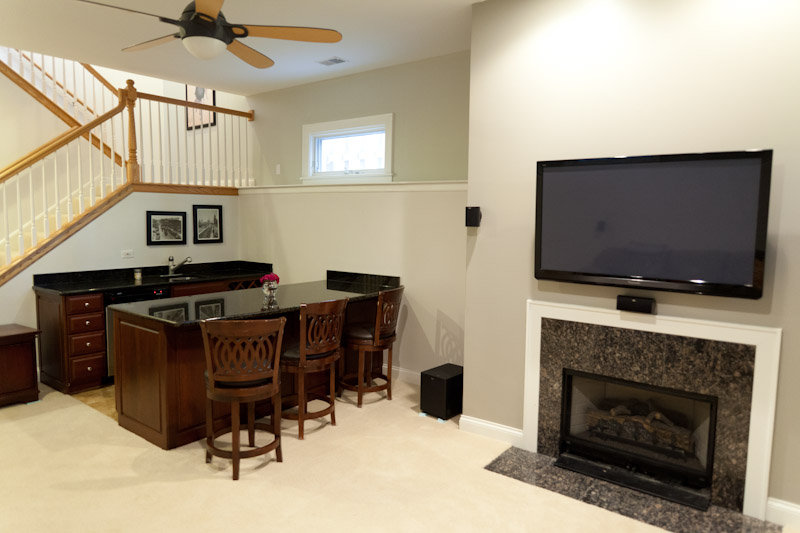
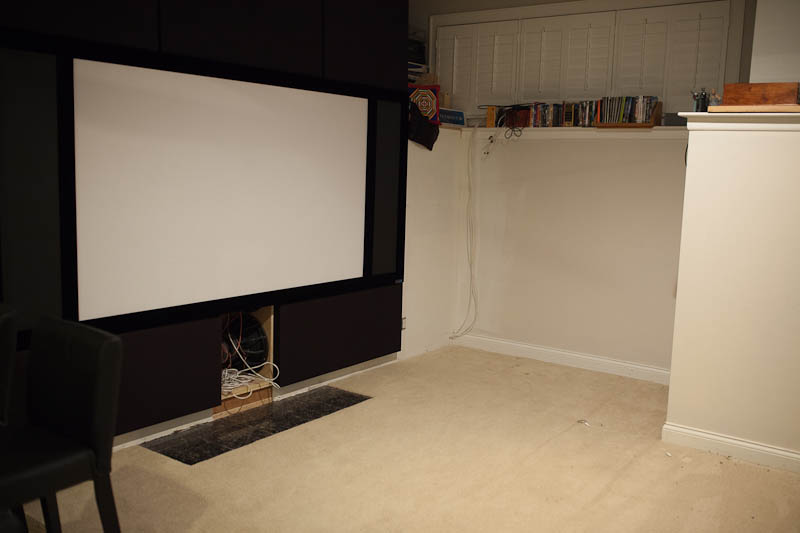
I neglected to get photos when I tore that lovely ventless gas “fireplace” (death trap, more like) out, or carefully removed drywall, framed out the bump-out that had been a fireplace a bit wider re-using the drywall I had removed… This work included space for the LCR in-wall and sub manifold (still using 4 Tempest-X 15’s) but you can see the results of that work here – everything cleared off the floor and ready for carpet removal. You may note that, in addition to making the bump-out wider I extended it all the way to the front of the house (and moved the built-in cabinet from the nook that had been there.) This bump-out makes up most of the IB volume (though there was an existing ~10″ square hole into the bump-out in the living-room fireplace space above – I guess in case anyone ever wanted a real fireplace.)
Starting the build – subfloor
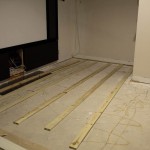
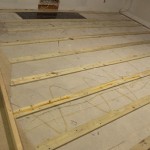
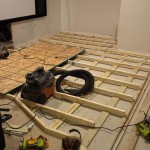
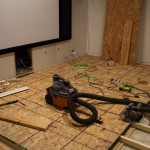
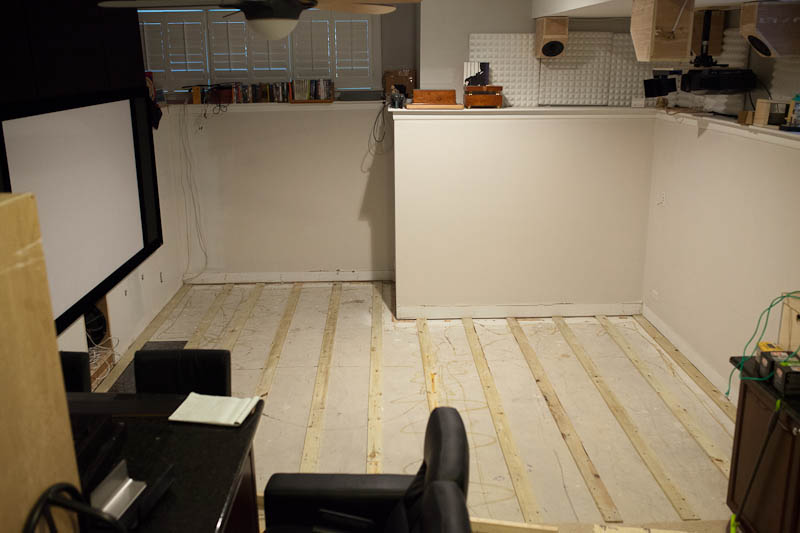
This is a basement, and while it’s likely it will stay pretty much dry, I wanted to be sure a little moisture (or if misfortune were to strike, a little more than moisture) didn’t pose a problem. Fortunately, ceiling height is not a problem so I can afford to lose a little. 1×4 treated runners go down first.
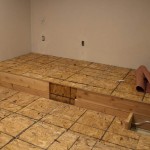
Main floor
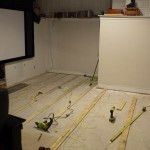
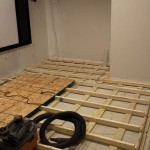
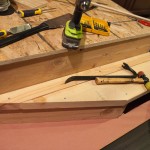
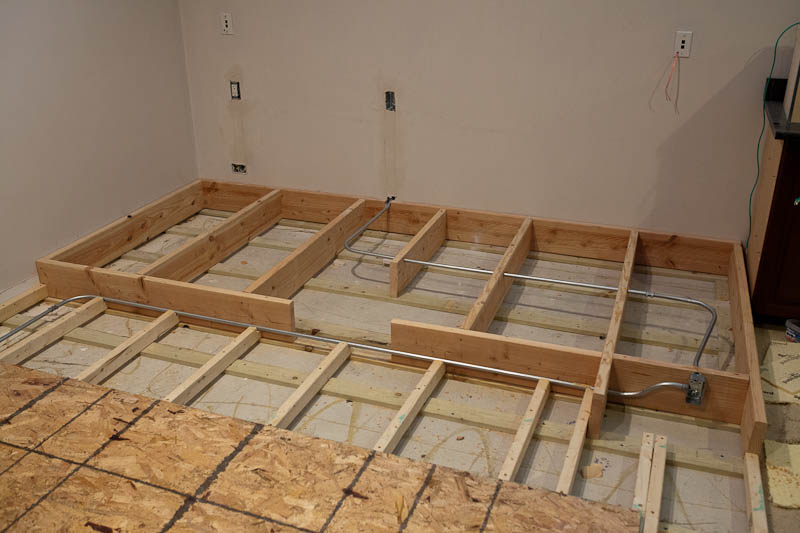
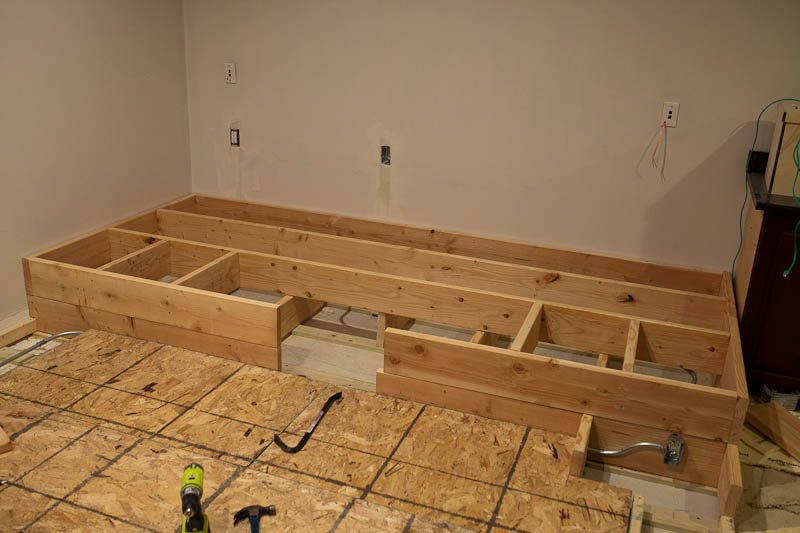
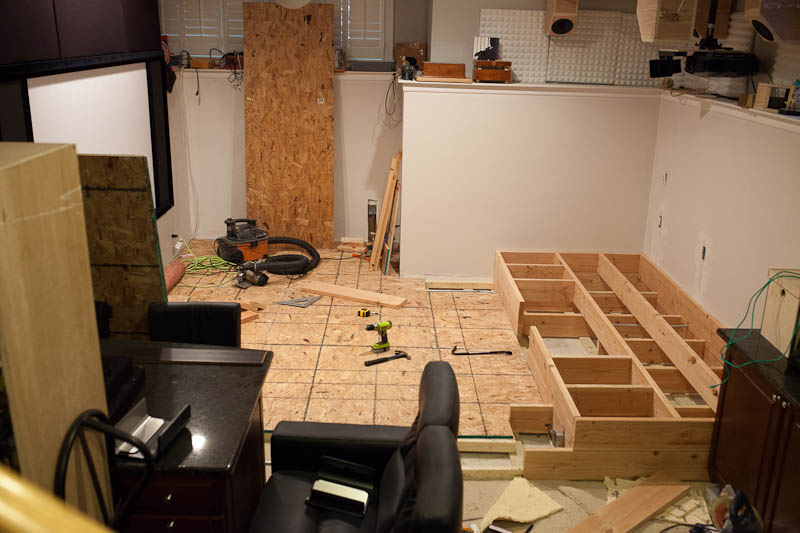
Eventually, I’ll be doing this for the entire basement, but I wanted to set off the space for the HT visually, so the entire floor gets raised just a bit more – in this case on 2×3’s. I’ve left room at the bar (though it’s close…) as well as a transition from the front-wall width to the rear width. This all comes together eventually, but was one bit I was least confident would work. I’m also running conduit here – it turns out there is only one line to the front of the house, and it’s at capacity – no room to run more wire for the amplifiers or the projector, so I’m preparing for that.

Riser
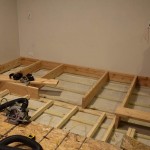
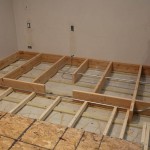
Of course, when I originally did the math, my ideal screen size was… too large for comfort – I use an anamorphic lens (a constant-height setup) so the screen ratio is 2.35:1 but that just makes it wider. Distance to screen is solvable by moving the seats closer, but then… well, yeah. A little smaller (and a little easier to work with) along with pushing a touch closer to the screen than I’d been thinking and there is now room for a riser and a second row of seats! We did try this distance out, and it’s a very nice balance at different aspect ratios, and never uncomfortable in my opinion.
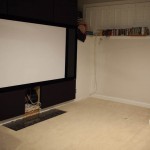
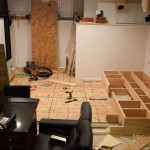
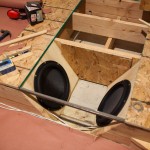
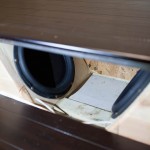
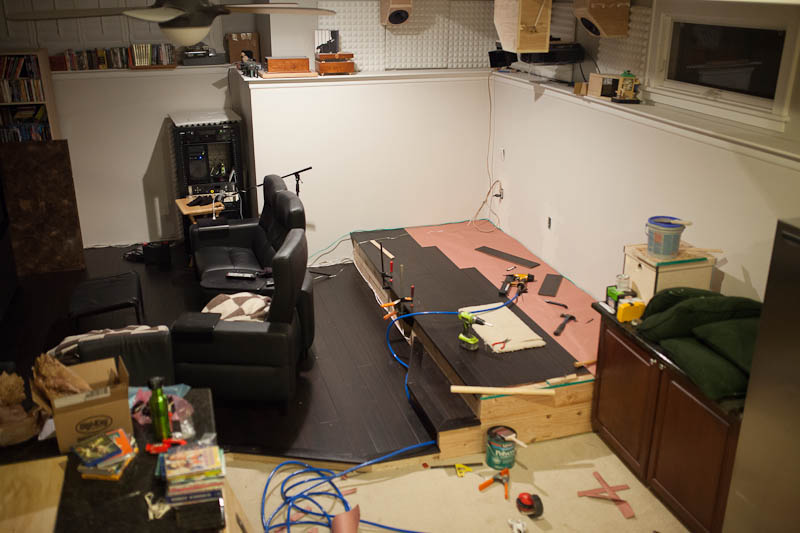
While I was considering the riser, I realized I might be able to help with some bass response issues by adding a second subwoofer… I mean, what could be better than 4 long-throw 15’s? 6! And on opposite sides of the room. So, that’s the hole you see in the middle here. These are 2×8’s, so the total height is ~12″ above the main HT floor. Built in stair, under which hides a junction box for the new conduit (out of sight but reasonably easy to access later when I need to.)
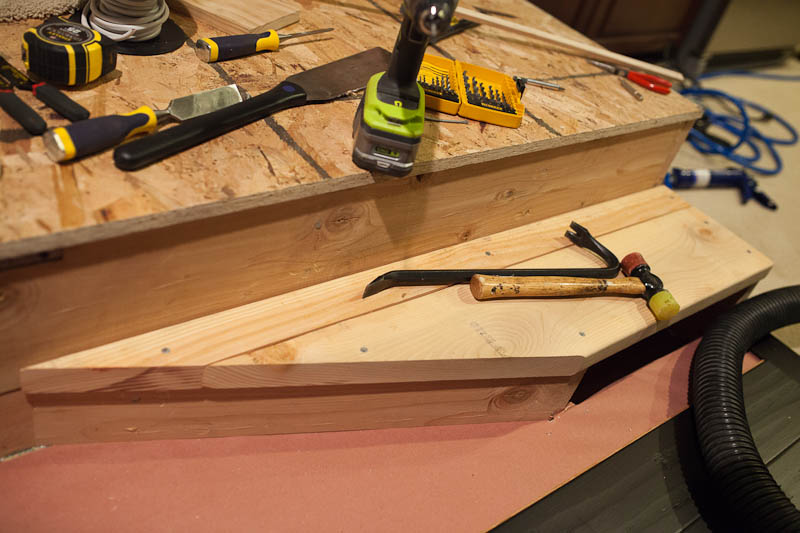
Getting there
The riser is enough to require a stair – for many reasons, I decided it couldn’t be a plain rectangle. This repeats the angle of the edge detail transitioning between the front and rear widths, as well as the angle of our front-row seats (Ekornes Stressless Wave) – hopefully a nice touch, and it does look good I think. Plus it was fun to build. Mostly.
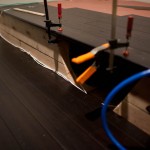
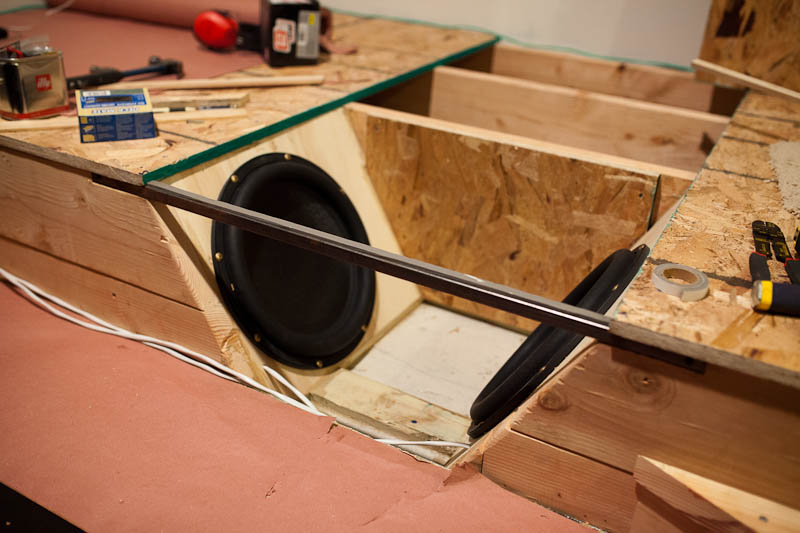
The riser subwoofer
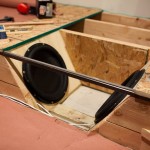
The Tempest-X is a superb sub, but no longer available. Fortunately, there are other options! In this case, a pair of 15″ Dayton Ultimax – almost too pretty to hide! I considered 12’s, which would have mounted vertically (and been an easier install…) but they didn’t deliver anything close to what the 15’s could, at least in theory… so I figured it out and here is what we have. That’s a square steel tube supporting the subfloor over the opening.
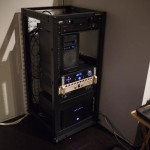
The equipment
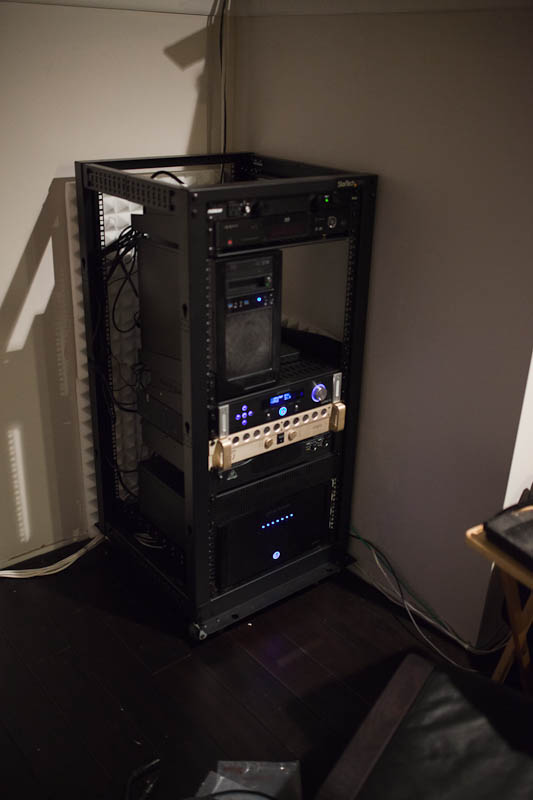
Somewhere along the way, I realized I had yet another amp to add to the existing pile, and I can barely move the main amp as it is. Now, I don’t know why I didn’t get a proper rack sooner. Live and learn! This stack includes the media PC (which can stream to the HT, but also serves up music to the house through my collection of Squeezebox devices.)
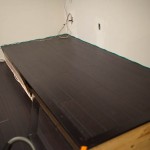
The floor
I decided on a very dark stained stranded bamboo for the floor. Edges are basic stair nose. Here it is in progress.
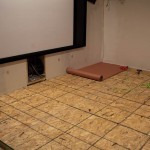
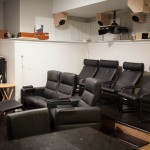
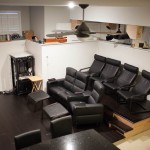
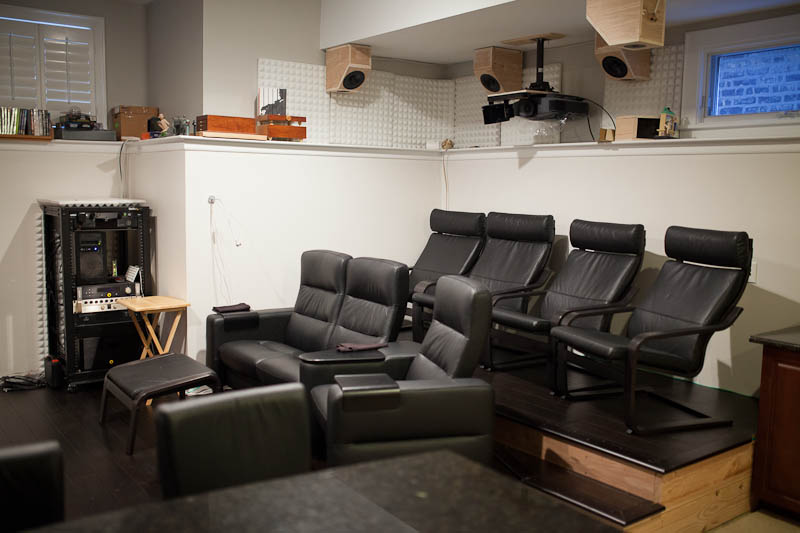
Floor complete, seats in…
Flooring all down, seats in position. Lots still to do, but it looks like something now! I’ll be building cabinets which will go into the space housing the equipment rack, adding much needed storage space. Acoustic treatment will continue around the seating area, and the riser will have some attention to its finish (not that framing lumber is ugly, but… it’s just not what this space deserves.) This is only getting started!

For those curious… here’s the gear. The speakers were used in my previous HT – some day they’ll probably be replaced, but for now they work quite well.
Equipment list
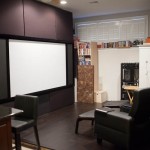
- Seymour AV 115″ AT screen
- Sony VPLHW50ES
- Emotiva UMC-1 pre-pro
- Emotiva UPA-7
- Face F700-TS Titanium
- Behringer EP4000
- Oppo BDP-83
- Front sub: 4 Tempest-X 15″
- Rear sub: 2 Dayton Ultimax 15″
- Surround: Seas 27TDFC / Dayton RS180-4
- LCR: Seas 27TDFC / Dayton RS150-8 / 2x Dayton RS180-4
- MiniDSP 2×4 balanced (subwoofer room correction and balancing front/rear subs)